
Thanks a bunch for all the encouraging comments! They are like a tonic for my soul. You see, I tend to go rather into a tailspin this time of year, what with the weather in these parts being so incessantly and relentlessly drab, dismal and drear --not to mention harrowing-ly cold, cold, cold! Your intrepid Reporter almost forgot that he started his beloved Merriman Park in the first place to keep himself from committing hari-kari with an enormous Minnesota icicle. (Talk about Seasonal Affect Disorder)! I could snap one of the frozen daggers off my ice-dammed eaves and end it all right now, darlings, but then my mini bedroom would never get finished...Quelle tragédie!
So instead, I'll spare you the histrionics and get on with the decorating...
I am often asked where I get my inspiration and ideas from and the answer is: I have no clue! I think my mind is sort of like an gi-normous sponge that sucks up anything and everything that has to do with architecture and design and so I have a catalog, of sorts, stored in my head that I can readily reference.
The most tangible inspiration for Merriman Park is undoubtedly my now dog-eared copy of The Thorne Rooms, which has somewhat become my 'miniatures Holy Bible!' Before starting any room, I inevitably revisit this sacred tome. To me, Mrs. Thorne was, and still is, the Gold Standard of Miniatures.

If you're like me, books, magazines, movies, plays, blogs... all provide fodder for future projects.
Once I get a few ideas in my head, I'm ready to plan the room. Sometimes, I'll draw up detailed plans...


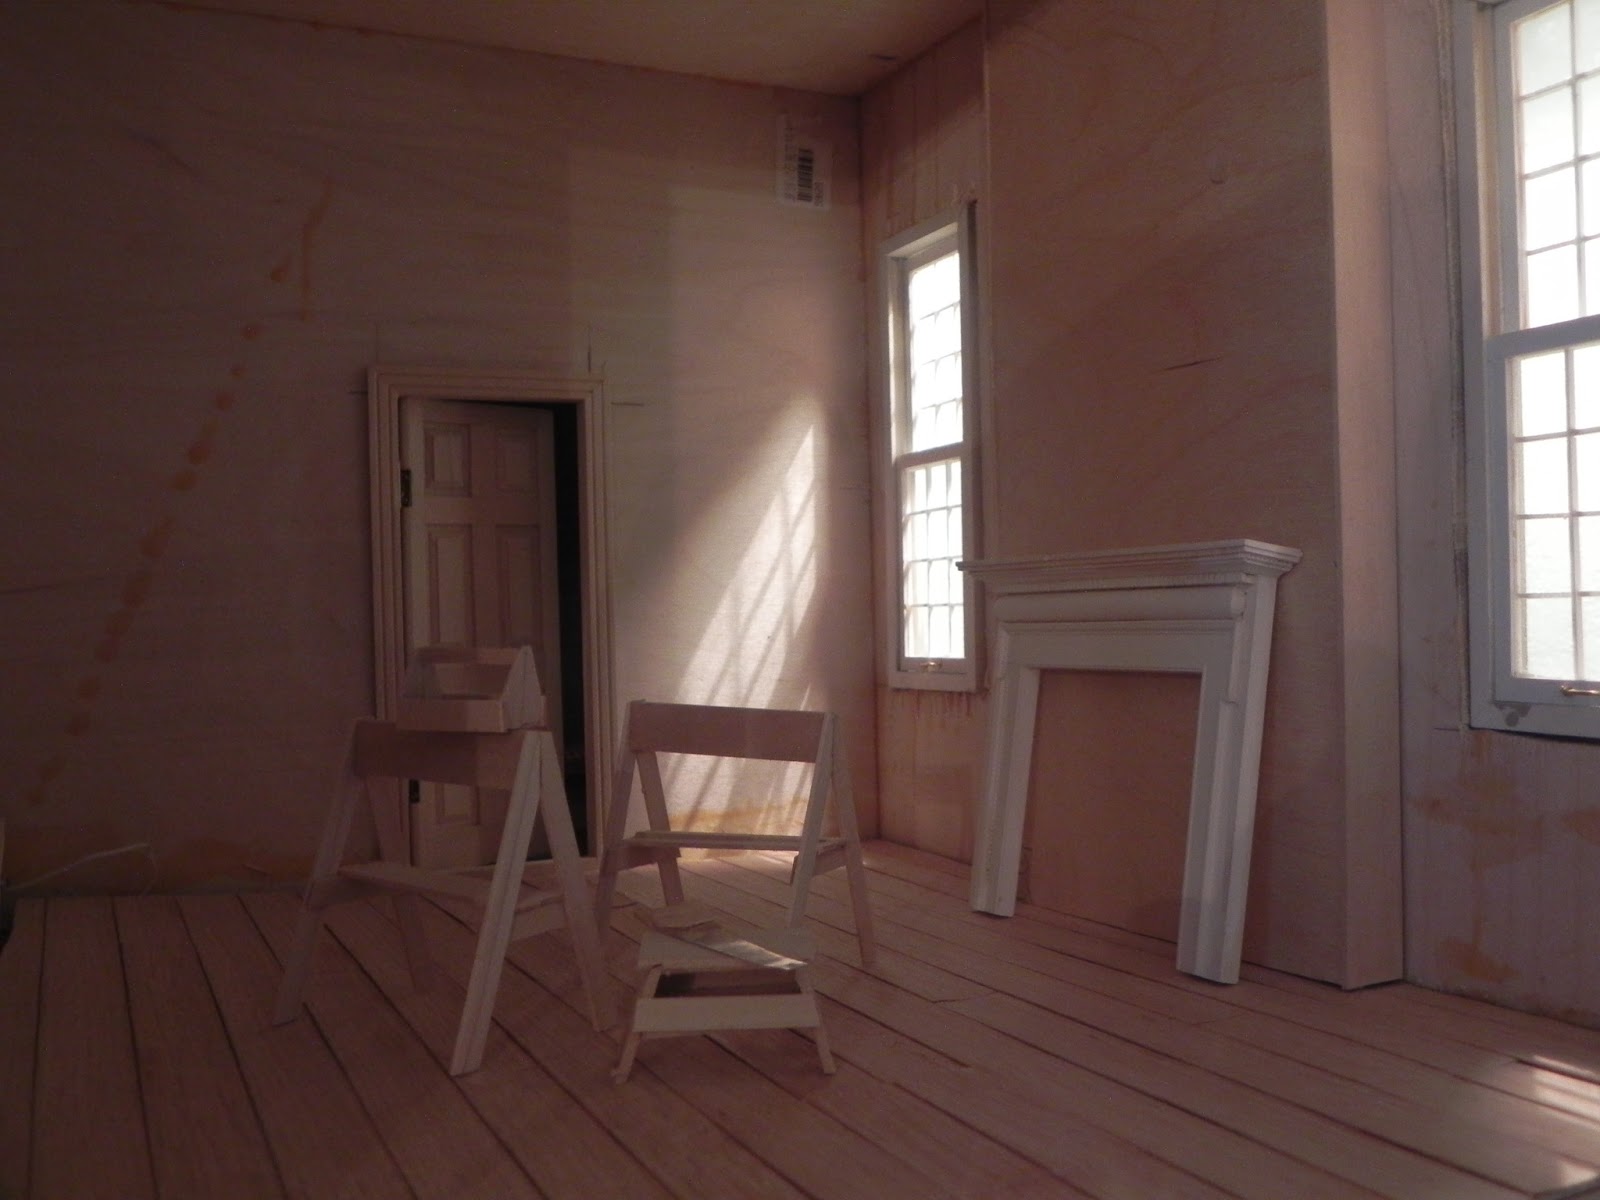
...But most of the time, I have such a clear picture in my head that I don't bother with a drawing. In the case of my Master Bedroom, I'm forgoing any renderings for that reason. All the rooms of Merriman Park are similar in their basic lay-out in that they're all rectangular with a door on the 'back' wall and with a fireplace flanked by two windows on each side. To liven things up a bit, I varied the mill work in each room, adding arches here and wainscot there, and in the Master Bedroom, I decided to include built-in window seats
My plan (such as it is)! in place, it's time to begin... I don't know why, but I always seem to begin with the ceiling --I guess you have to start somewhere! As you probably already know, I use illustration board panels, cut to fit the walls, floors and ceilings of my rooms. I apply the trims and moldings, wallpaper, etc to these panels, and then install them into the room. The advantage to doing it this way is that you can work on a flat surface instead of trying to reach into your little dollhouse room. And the panels hide all the wiring, too!
After cutting a panel to fit my ceiling I penciled in where the fireplace chase hits. My plan for the ceiling is pretty straight-forward: a beautiful ceiling rose from Sue Cook Miniatures centered, and a simple molding to frame the room. I penciled in where the moldings were to go by measuring 1 1/2 inches from the wall all the way around. The moldings are cut with a mini miter box using forty-five degree cuts at the corners.

Then it's a few light coats of what I have begun calling 'Merriman Park White,' which is simply an off-white spray paint that I used in practically every room.
 |
That finished, I thought I'd try something a little more fun, so I turned my attention to the door surround. I do not own many fancy tools or gadgets, but by using stock moldings, strip wood and a mini miter box, you can come up some fancy designs of your own.

I started with plain strip wood going around the door frame and then outlined it with stock panel molding. I found a teeny, half-round molding about the thickness of a toothpick and use it to outline the inside of the door frame.
Sitting on top of this is a block of wood, about 1/4" thick. I wrapped a dentil cornice around this block and used 'Victorian skirting' as a shelf on the very top. It's all smoke and mirrors: simple forty-five degree cuts but once everything is glued up I think it looks as good as my expensive, 'bought' surrounds.


.jpg)


